Quick Links
-
Yes, You Need a Rescue USB on Hand
Key Takeaways
- A rescue USB is essential for fixing major system issues that prevent OS boot, allowing for recovery and diagnosis.
- Creating a rescue USB is simple based on your OS.
- A rescue USB saves time and effort when reinstalling the OS or troubleshooting. For effectiveness, it is recommended that you update it every six months.
As reliable as modern software is, things can go wrong occasionally. If that happens on an operating system level, you will probably need a fresh install. In such cases, having a rescue USB at hand is always handy.
What Is a Rescue USB?
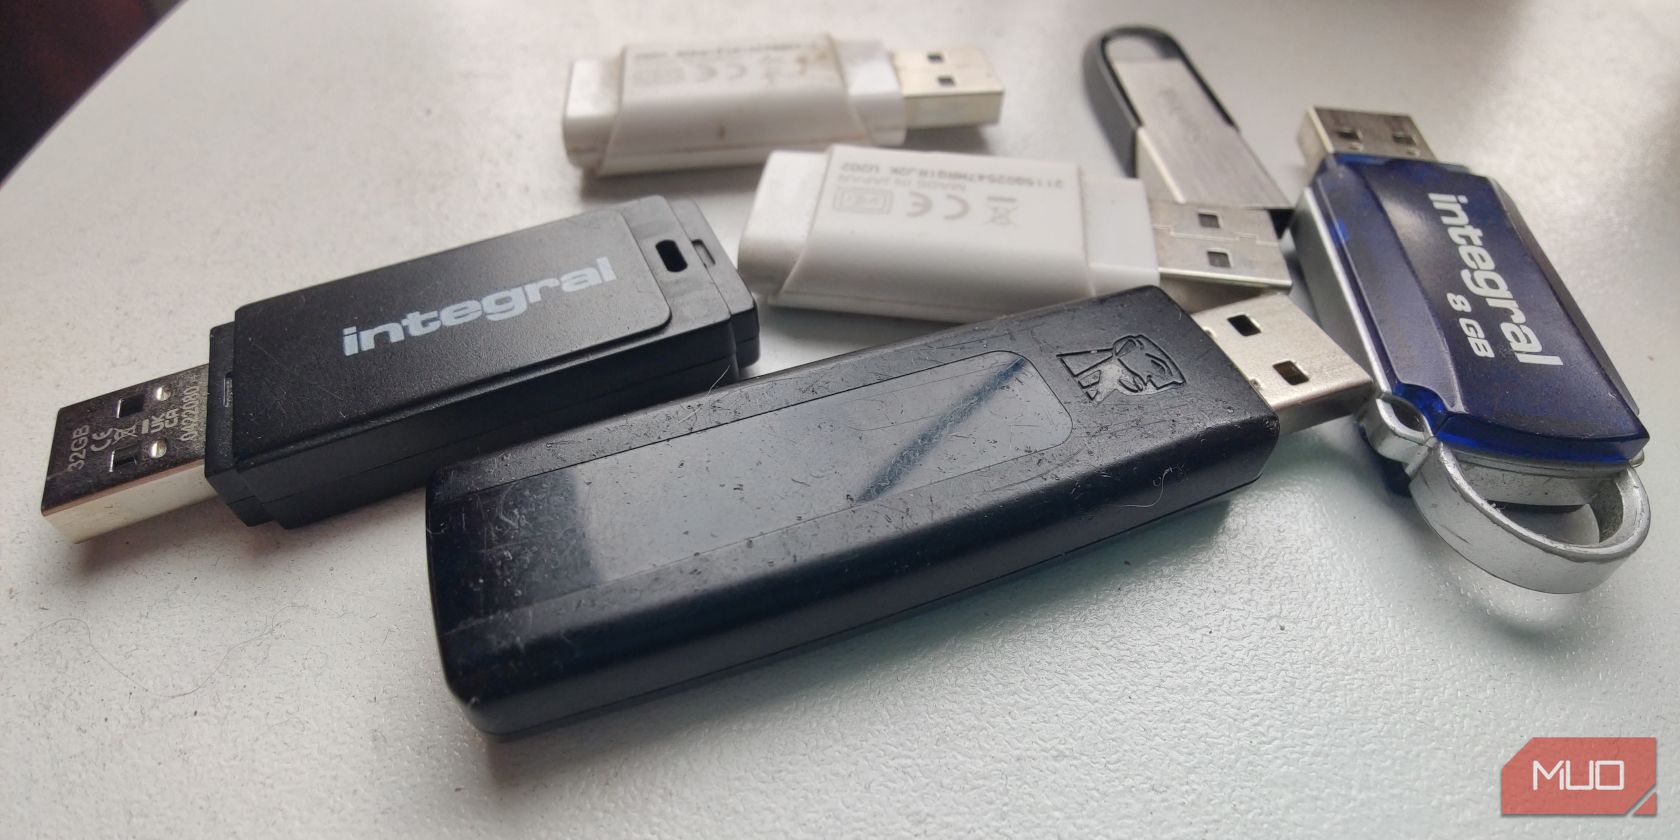
A rescue USB is a flash drive that you keep in hand to recover or “rescue” your PC when it’s broken to the point that you can’t boot the operating system. Usually, these are the bootable flash drives you’d make to install Windows, Linux, or macOS.
A rescue drive is a bootable media device; your system reads the OS information stored on the drive and boots from it. This allows you to make critical changes and fixes to your OS—changes you couldn’t make otherwise when the system is running.
In addition to bringing back your PC from the dead, these rescue USBs can also be preinstalled with utilities to diagnose parts in your computer and fan out any potential issues. These third-party tools (which vary based on your OS) can scan anything from your storage drive to your system memory to help you get a better diagnosis when fixing your PC.
How to Make a Rescue USB
Creating a rescue USB is simple, but the process depends on your operating system. Just keep in mind that you need a USB drive that is at least 8GB in capacity and formatted appropriately for the OS you’re working with.
Windows
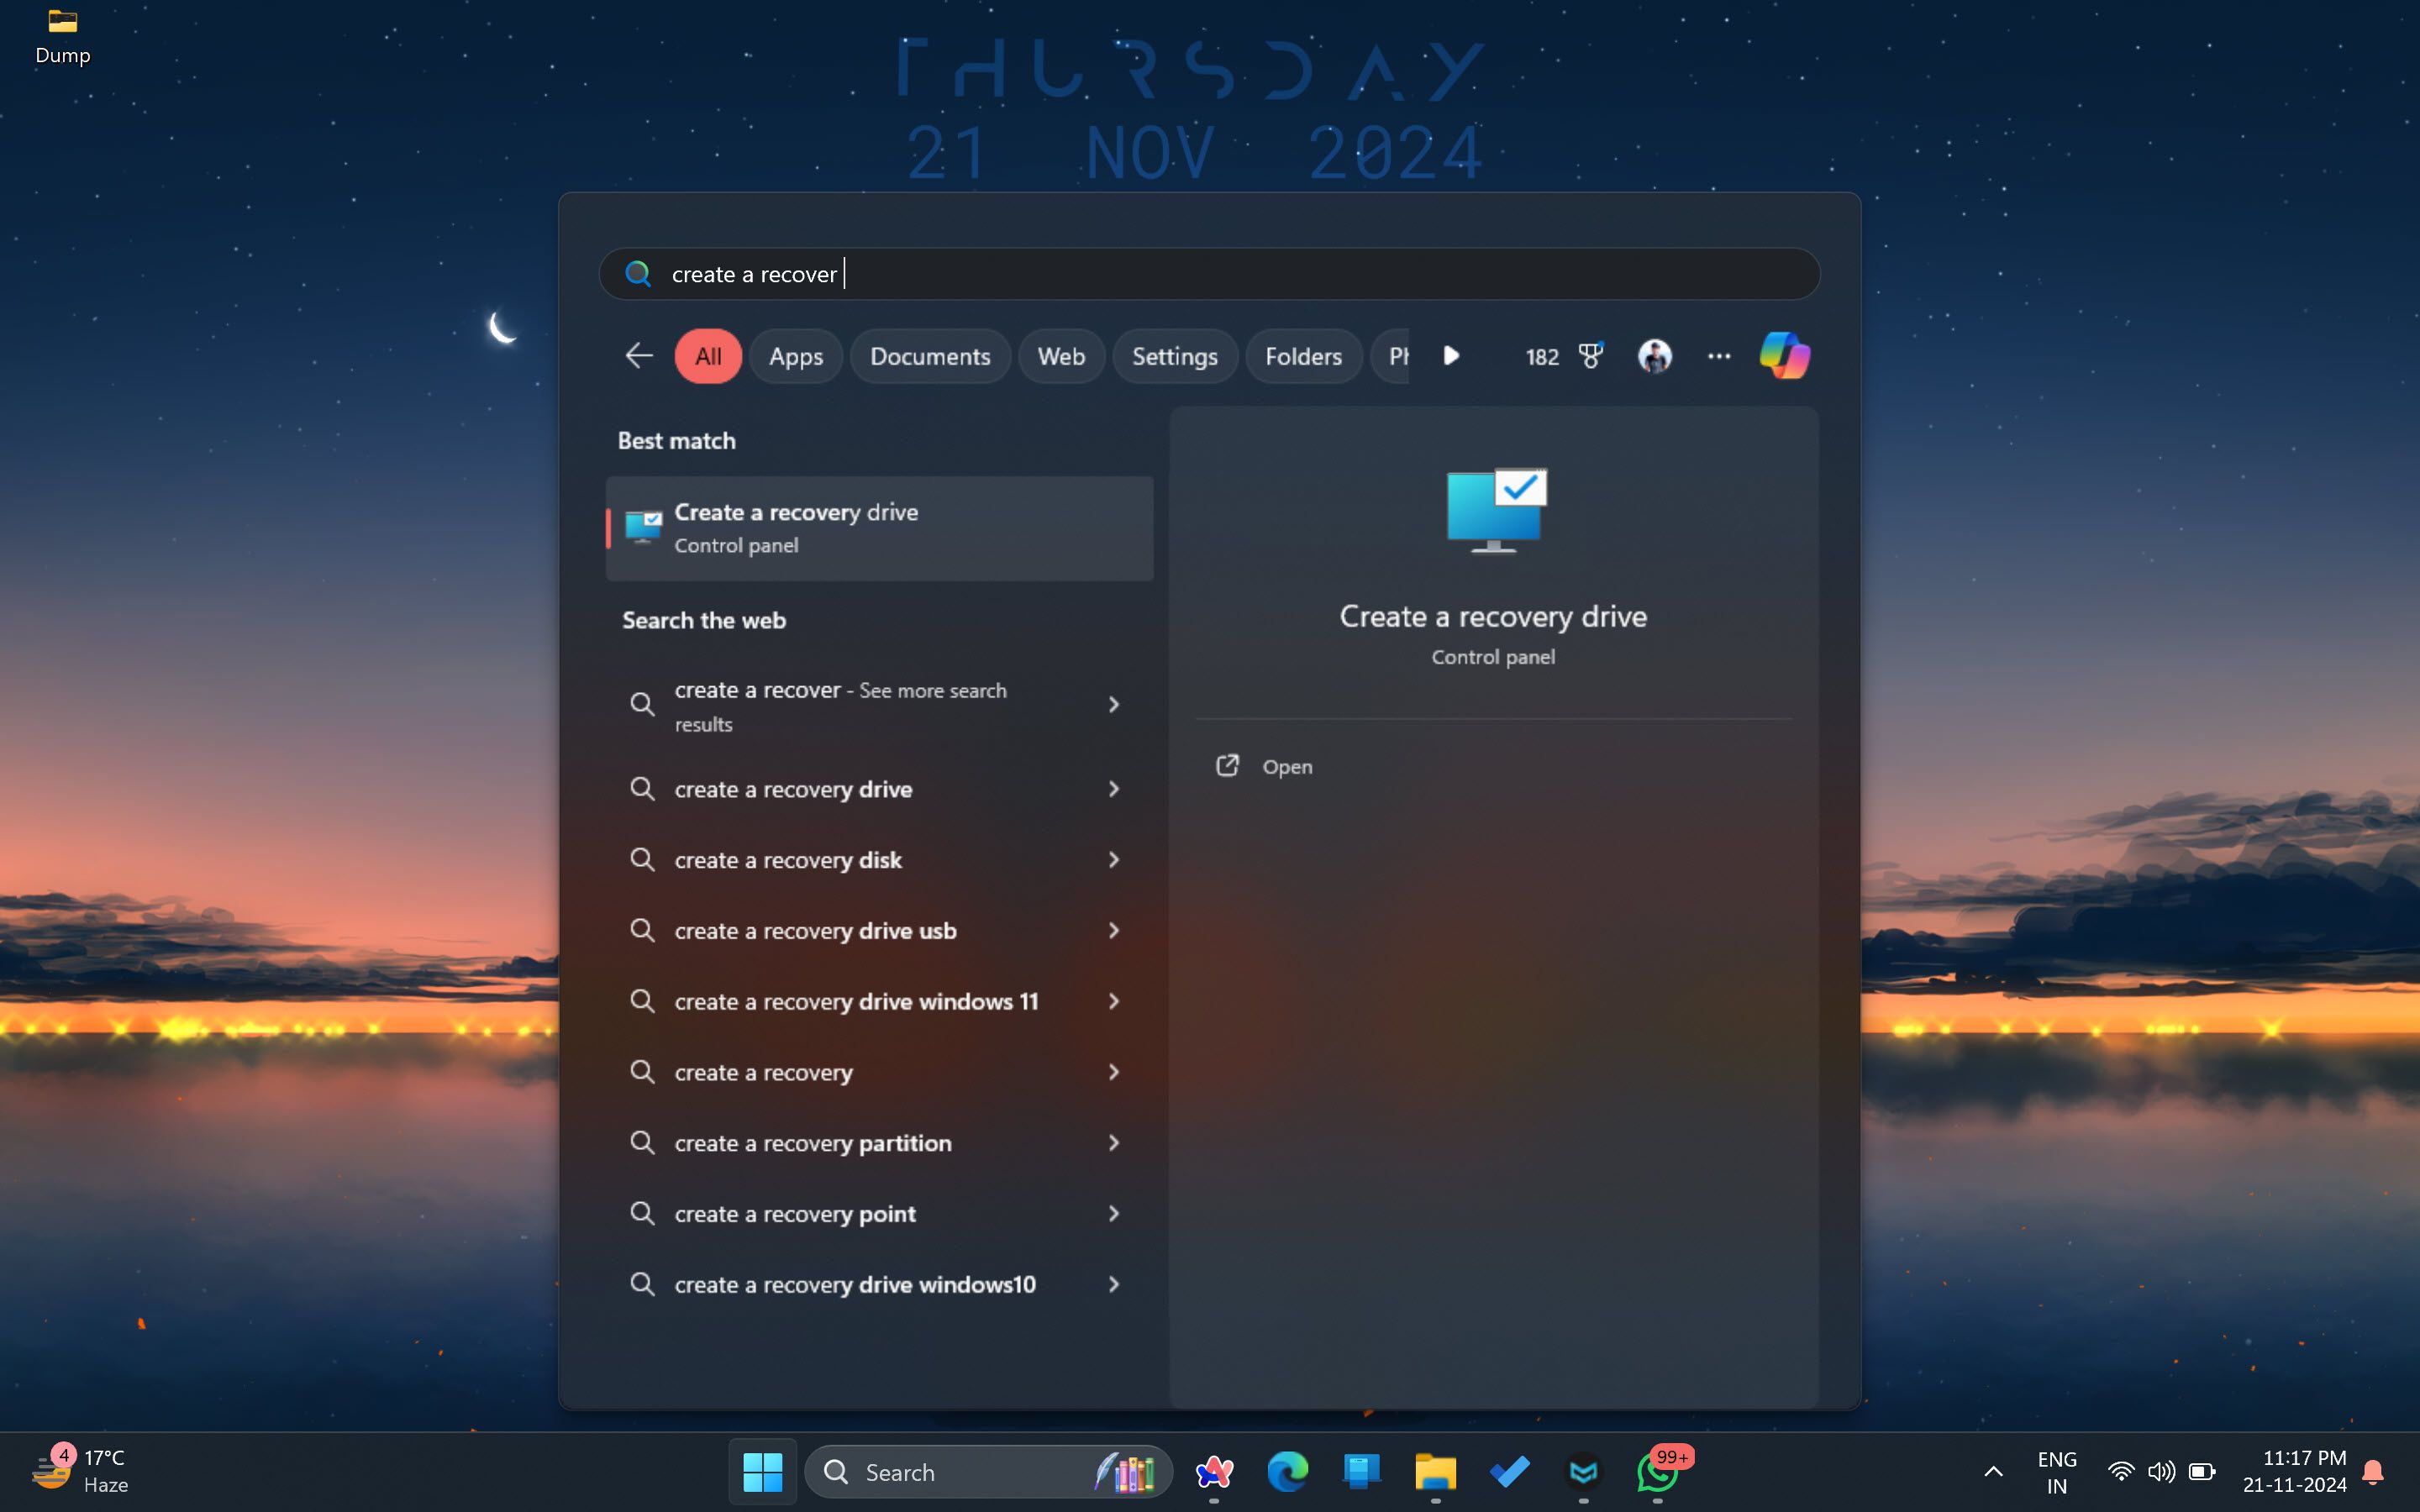
Windows has a built-in tool to help you quickly create a recovery drive that’ll even save your system files to help you get up and running quickly. All you have to do is input Create a recovery drive in the Windows Search tool, select the Best Match, and follow the wizard.
Alternatively, try the Windows 11 Media Creation tool to get a clean Windows install. This method is recommended when you want to reset your PC and start over fresh.
macOS
The process of creating a macOS recovery drive is slightly more tricky. You’ll need to download the appropriate macOS version from the Apple App Store, prepare a flash drive with at least 14GB space, and format it as Mac OS Extended.
Once you have everything you need, fire up a Terminal window and type the following command:
sudo /Applications/Install macOS Big Sur.app/Contents/Resources/createinstallmedia Be sure to replace the Drive at the end of the command with the volume name of your USB drive. After this, you can use this recovery USB to bring your Mac alive any time you want, although you should try to use macOS Recovery before reinstalling your operating system.
Linux
The steps needed to create a recovery USB will vary depending on your Linux distro. That said, having a Linux rescue USB is just a matter of having a bootable USB drive installed on the Linux distro of your choice. You can even install multiple operating systems on a single USB drive for more convenience.
In Ubuntu, you can use the Startup Disk Creator tool to create a bootable copy of your OS installation quickly. Alternatively, you can also use tools like Rufus or Etcher to create a bootable Linux drive that’ll act as an installation, live testing, and recovery drive all at once.
Yes, You Need a Rescue USB on Hand
A rescue USB isn’t something you’d carry around with you, as the chances of catastrophic system failures in your daily usage are low. After all, you can go years without ever having any issues so severe on your PC that it won’t even boot.
That said, when you do break your system to the point where you can’t use the OS to fix any problems, using a rescue USB will save you tons and time and in most cases, even all your system configurations and data while giving you a way to quickly reinstall your OS or diagnose and troubleshoot issues on your system.
It’s not a lot of work to make one, and it doesn’t require much technical sophistication from your end, either. And the first time you use it to save your system, all the time and hassle you’ll save will be worth the effort.
I recommend making one and updating it once every six months or so. Even if you don’t update it all, as long as you have the right OS version, it’ll still be effective enough to fix your PC, you’ll just have to catch up on all the updates, which is a simple task of letting your OS update itself.
Yes, you can go years or even a lifetime needing one, but the day you break something on your system, whether you were just fiddling with settings or trying an overclock, having a rescue USB is the backup you’ll need to quickly and effectively get your PC back up and running again.


